
Small Master Bathroom Update Reveal
October 30, 2019

I started a $200 room challenge. See the progress posts here and here. I finished the project, but I failed to keep the $100 budget part. I don’t think I am alone in that aspect of home renovating. Like most of the projects that I do in my home, it took longer and required more money than I planned for.
Although I spent more than $200 it was still a huge improvement for a very modest budget, so there is still value in learning about some of the victories and failures that we encountered.
First, I will follow up with what was done by showing you some before and after pictures.


Here is a breakdown of the changes, what we learned and cost.
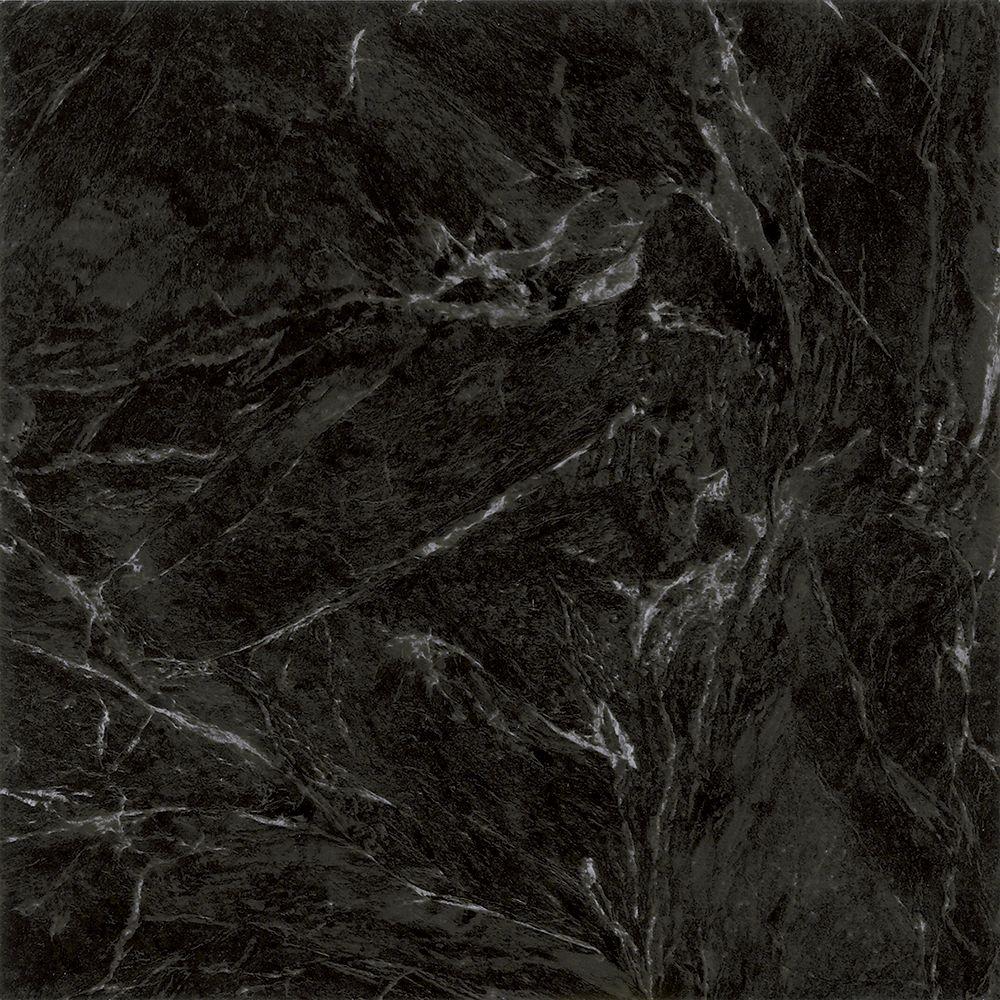
Flooring: We ripped out the old flooring and replaced it with this black marble-looking laminate.
This page contains affiliate links for your convenience (which means if you make a purchase after clicking a link I will earn a small commission which helps keep my blog up and running but won’t cost you a penny more)! Click here to read my full disclosure policy.
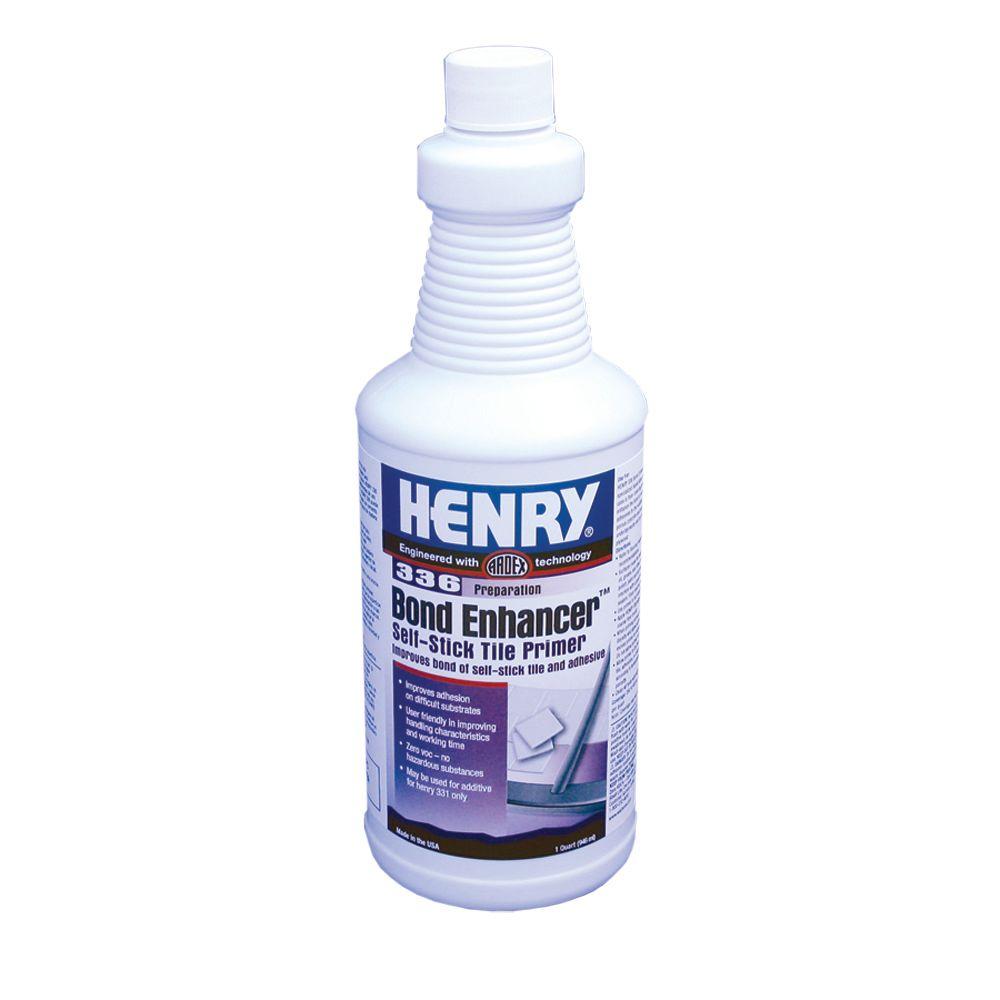
Flooring Tips: If you can, take out the old flooring down to the subfloor, sand, vacuum and prep with adhesive. Henry 336 1 Qt. Floor Primer
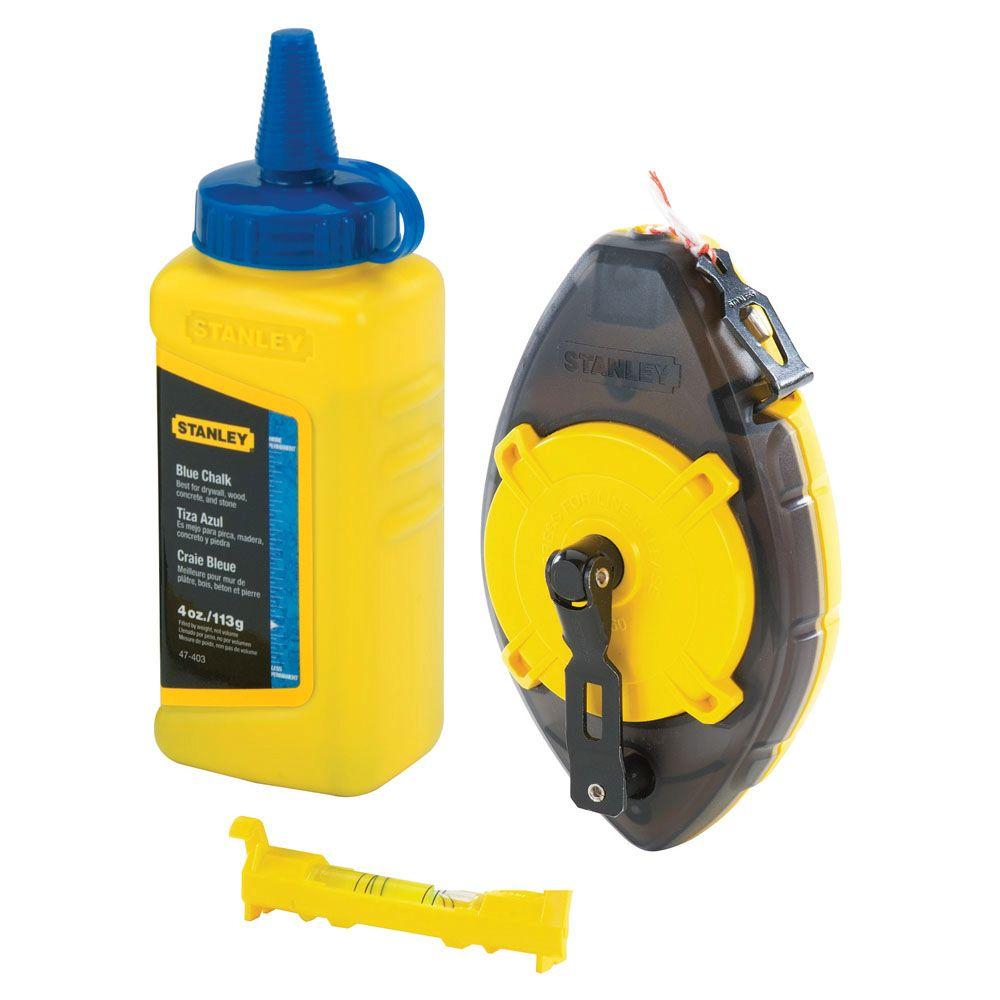
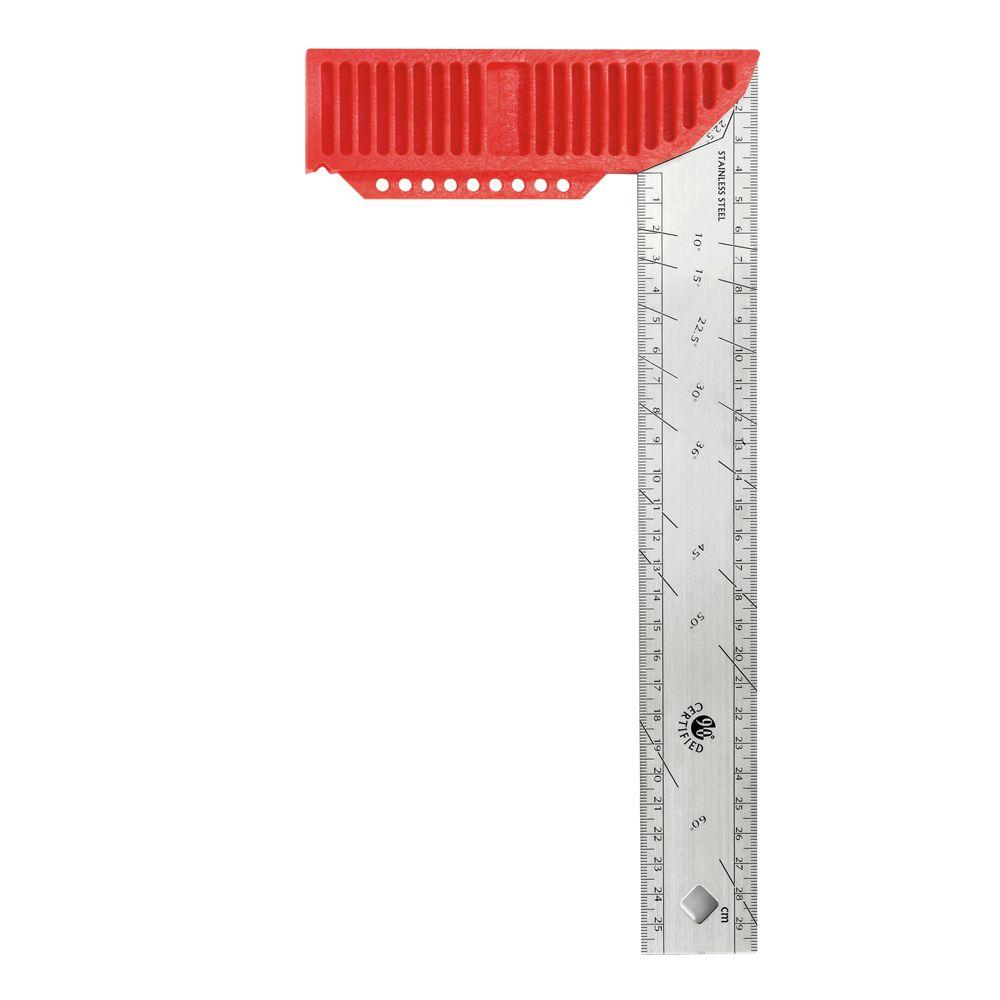
It is also really important to make sure you have a straight edge to start from. Do not simply use the walls as the starting point; many walls are not square. We used a square ruler and chalk line to give us a straight line to work from.
Flooring Cost: $25
Toilet Seal and flush handle: $8.00

Built new side for the vanity cabinet: $3.99 time and some new MDF board
Painted the walls: $0, already had the paint
Painted/refinished the tub: $36×2=$72
Made a shelving unit: $1.40 for metal, $1.75 for the wood, This was a time consuming activity because it required Cody to weld the metal frame and then spray paint it black. Cody also cut the wood for me and I sanded and stained it to look good. I love how it turned out though.
We also replaced the toilet seal and an angle valve for one side of the water lines. You can’t see the change, but they were much needed. $16.00
Black Fusion Paint for the trim: $32 This took some time too since I took the trim off, sanded them and then painted them. A plus in this part of the project was that the fusion paint has a top coat built into it, so it looked great with two quick coats. I am looking forward to using this same paint on some furniture projects I have planned for my bedroom dressers.
Silicone Caulking and Construction Adhesive: $6 and $5

Mirror from Walmart: $15
Black and White Basket: $3.99
New white towels: $19.99
Faux plants from : $6.99 and 12.99
Art from Hobby Lobby: $14.39
New shower liner: $4.99
Shelves and towel hanger: $23.00
Total Cost: $274.47
Total Time: 7 weeks


Even though this project took more time, money and energy than I had anticipated, it was totally worth it! I enjoy being in my bathroom and my kids don’t come in and say, “Mom, your bathroom is gross anymore.”
I am in awe at how this small master bathroom makeover has given me the motivation to make small changes that have been impact. I am reminded time and time again that color matters and that with some planning, work and some cash, you can create a new environment for yourself and your family.
I hope you will not wait to make the changes that can give you a new perspective on your whole life. Your home matters and whatever you can do to make it better is worth your time.
Best,
Lucy Bowman


